Good Afternoon Crafters!
What a beautiful day it is here. It is almost criminal that I am sat in my Craft Room writing up this post, but I promised to give you a tutorial on my Stamp Books, and I am not one to break a promise, especially when it comes to one of a crafting nature.
Are you with me and are you ready to go? Then I will begin.
You will remember I gave you a bit of a list HERE so I will not bore you with that again and will get straight in to the how to.
 Firstly, you need to cut the covers out of the chipboard. I am making a Stamp Book which will hold my unmounted rubber stamps, as I have been naughty this week and ordered some lush stamps from Crafty Individuals and as I already have a few, I could do with a book dedicated to Crafty Individuals. So I measured the A5 zip folders which I have purchased from Rymans and they measure 7" x 9 1/2", however, I have bought some of these folders in the past which measured 10" so, in the interests of interchanging my folders, I have cut the chipboard at 7 1/2" x 10 1/2".
If you are making covers to fit either the Tim Holtz stamp sheets or replacement folders, these measure 7" x 8 1/2" thus the covers I usually cut for these measure 7 1/2" x 9".
If you are using any other stamp sheets e.g. Wendy Vecchi, then I suggest that you add 1/2" onto the size of the sheets for the covers.
Please TAKE CARE when cutting the covers as I don't want to hear of any blood being spilt in the name of art. I have Winnie the Pooh plasters in my room but it would be tricky for me to administer them for you.
 When choosing papers to cover the chipboard, be aware if you are using stripes or definite patterns that you do not inadvertently place chipboard upside down. I tend to use a heavy paper/cardstock to make covers as the book will need to withstand a fair amount of usage, being taken to crops and being pushed and pulled in and out of shelves in your craft space. I am using My Mind's Eye Washing Line papers for the outside covers and plain cardstock for the inside. This is because I really love these papers and tend to stroke them, it will be lovely to see these papers in years to come still being used. Plain cardstock for the inside as I like to stamp the insides with stamps that are being kept in the book. After all, it is a stamp book!
 Once cut, double check your measurements rather than wait until later, to ensure that the covers are the correct size. If any of the edges are rough you can smooth them using sanding block or files, whichever is your tool of choice.
Using the papers you have chosen for the outside covers apply your adhesive of choice to the chipboard (I previously used mod podge, but will be using Christine Hellmuth matte medium in future lurve this stuff!!). Now do not be tempted to put a lot of adhesive on the chipboard, you do not want to soak the chipboard, else you risk making the paper wrinkled. However, please make sure that there is enough adhesive on the edges of the book so that the paper doesn't peel later.
 Once the paper and chipboard cover are together, I use a brayer to try to ensure the paper has been pressed down and avoid any air bubbles being caught under the paper. Also, be careful that if you are using a patterned paper with stripes, that you have put the paper on straight, and also, not upside down.
You will now need to leave to dry. Be patient. I usually leave this overnight to give it plenty of time.
 Morning!! Next trim the excess paper from your covers. BE CAREFUL not to cut yourself. Whether you use a metal ruler or just the edge of the covers to guide you is up to you. If you do not cut flush with the edge of the covers, do not panic as we can file it down later.
 Keep all the excess bits, as we can use these to decorate the cover and also make the "closure".
Check that the edges of the cover have been adhered, if not use a little of the adhesive (here you can use the tiny Christine Hellmuth matte medium to "inject" the adhesive in).
 Sand the edges if you need to, to ensure that the paper is flush with the chipboard. Hold the sander/file at an angle 45 degrees, holding the paper side towards you and file away from you avoiding any sawing action.
 Now is the time to think about how you are going to close the book. I tend to make a "flower" using cuttlebug flowers and ribbon, but I have also used a button (see the Christmas book on THIS post).
  To do this, measure the centre of the back cover (reverse side) and about an inch in from the edge (don't forget to check that it is not going to upside down with the paper) and make a mark, on both the front and reverse covers.
  At these marks, using the largest hole on the Cropadile, make a hole. On the reverse cover attach a large eyelet and thread a piece of ribbon leaving about 1 1/2" on the inside. Adhere a small piece of masking tape catching this ribbon so that it cannot be pulled through.
 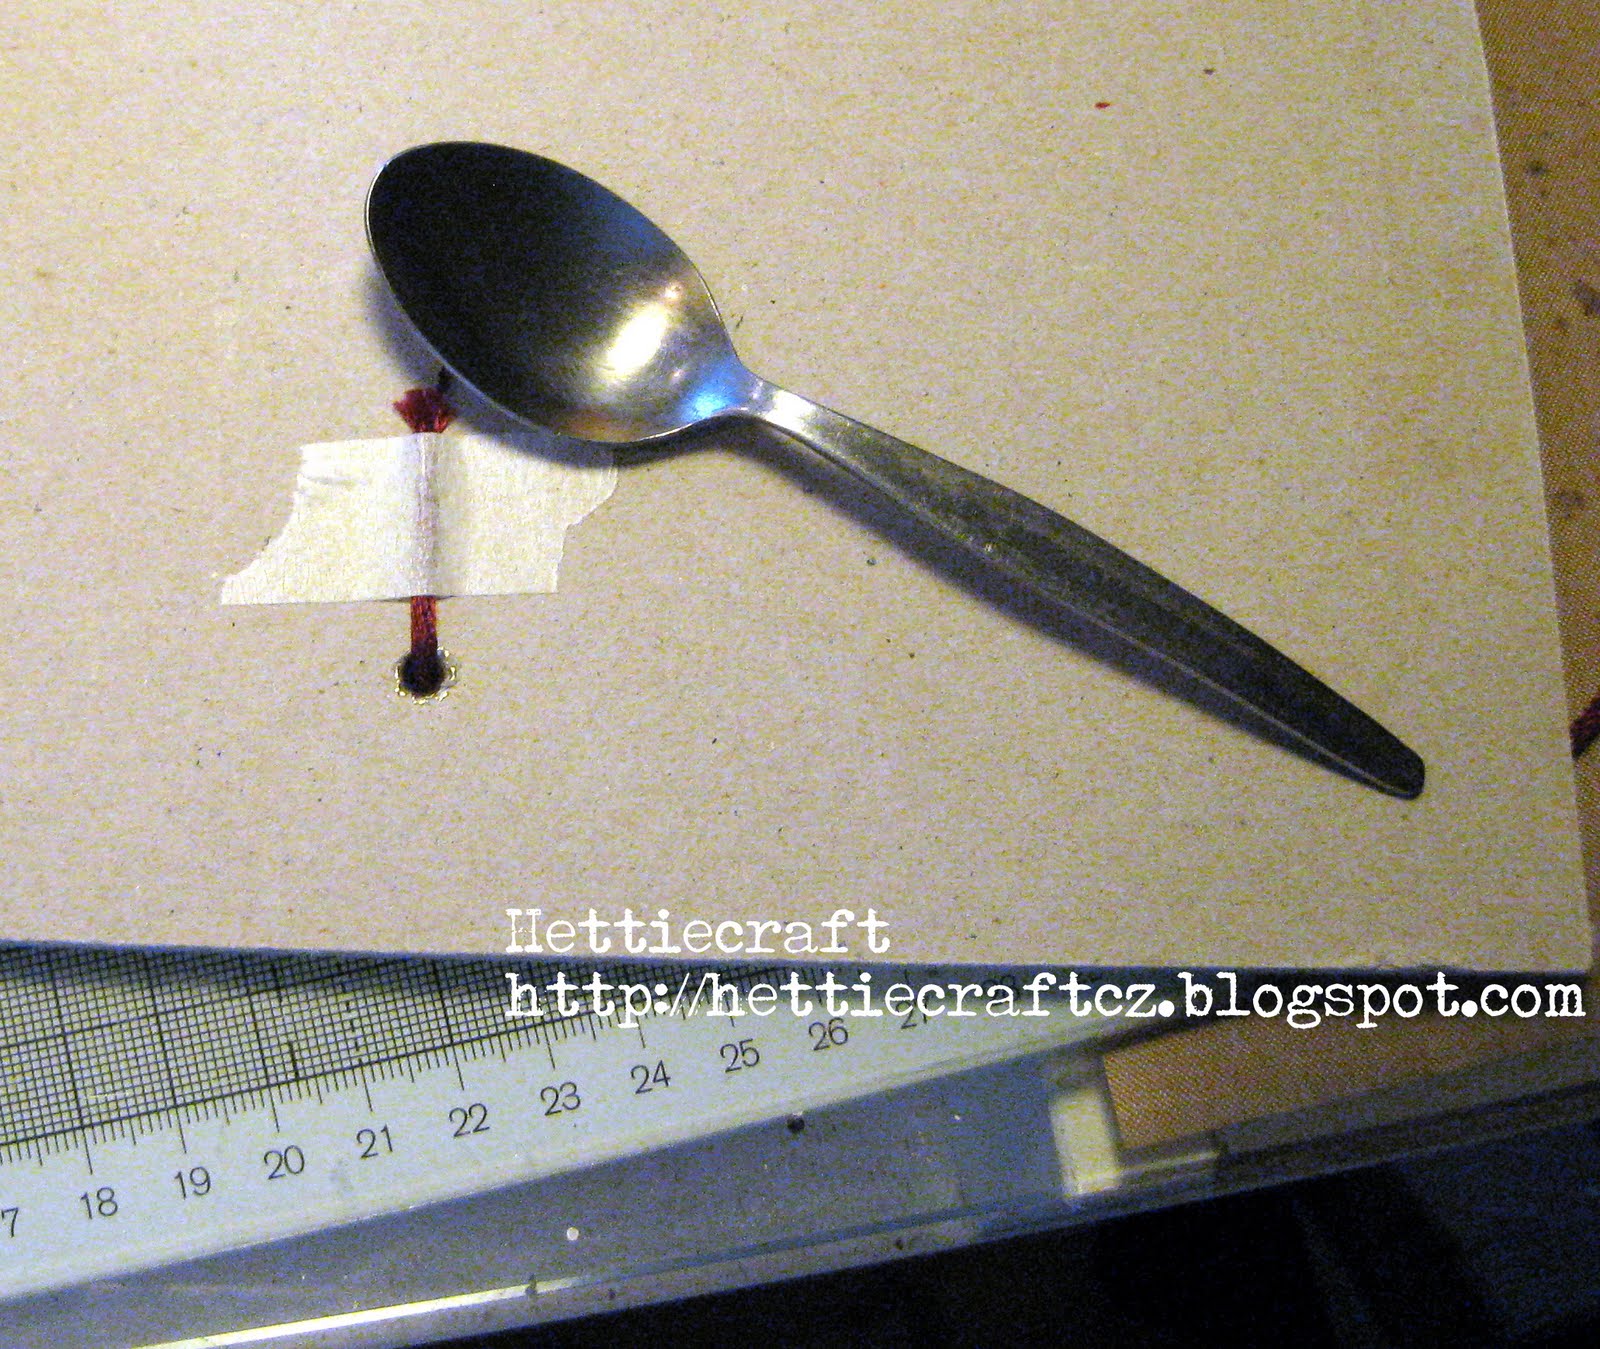 Burnish this masking tape and ribbon in order to flatten it. Being careful not to get glue onto the ribbon, adhere the remaining cardstock onto the inside covers (use brayer). Try and avoid getting any adhesive on any part of the cover where you do not want adhesive to show (this is where the matte medium is sooooo cool!). If your covers became a little curved when you adhered the front covers on initially, layer the covers with some sheets of plastic and place a weight on top and let them dry - again overnight is best.
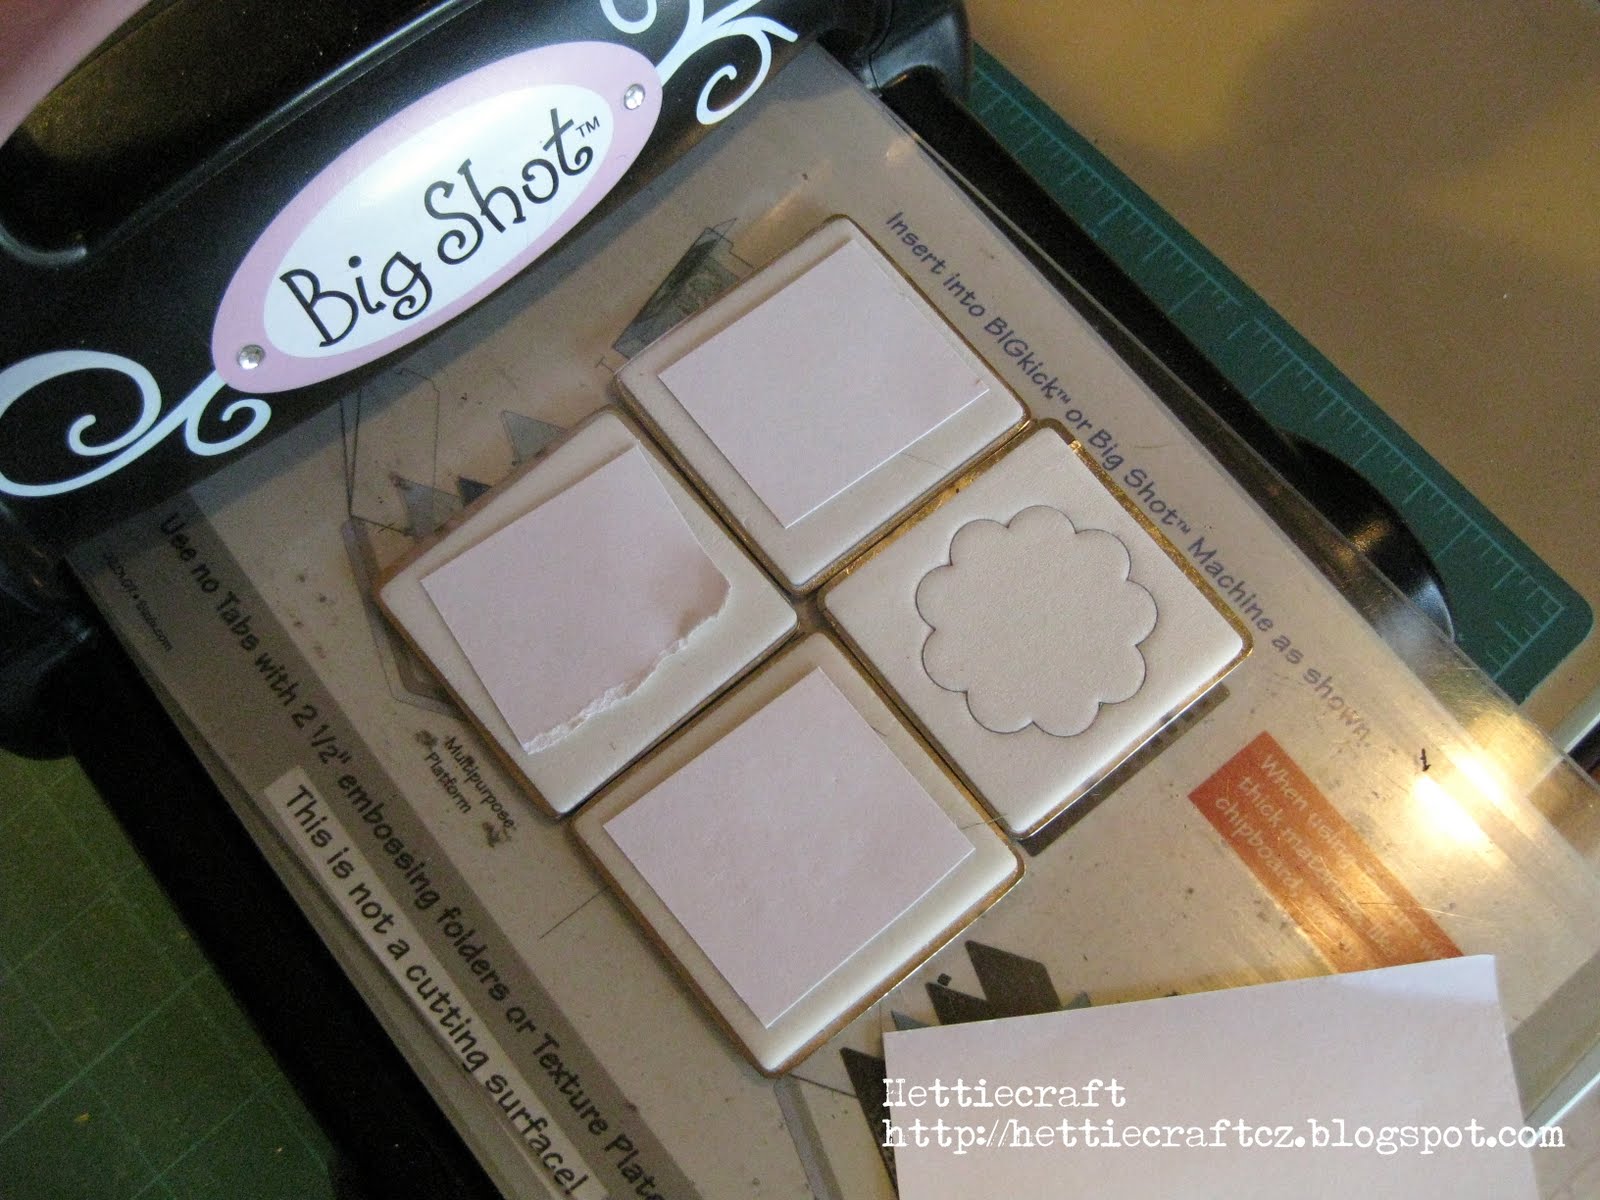 Now onto the front cover. I will show you how I make the flower but you can make yours any which way you choose. I make a cuttlebug flower using four layers.
 Ink the edges and make a hole in the centre for the brad. Ensure that the brad has long "legs" so that it cannot be pulled through easily. Place each layer of the flower in your hand separately, and push your thumb into the centre so that the edges curl a little. (I don't have the posh tools for this!) Layer the flower and push the brad through the flower then attach the flower by pushing the brad through the hole in the front cover and separating the legs at the back of the cover.
  Now the inside covers are dry, cut the excess cardstock off (avoiding cutting the ribbon in error!) and again file/sand the edges if necessary to ensure the cardstock is flush with the chipboard. Mark out where the holes are going to be for the rings, using the stamp sheet or if you are making a zip file version mark where you choose. Using the largest hole on your Cropadile, make the holes, again, checking you have the covers the right way round!
 Ink the edges of the covers or use Krylon pen, whichever you prefer.
 If you are making a book based on the Tim Holtz stamp sheets/replacement sheets, you may wish to round the corners before inking with a corner rounder. As my zip files are very much squared off I decided not to.
 In the case of the zip files, use the covers to mark out where you are putting the rings. As I want my folders to be interchangeable I used a zip file out of my current book as a guide.

Don't worry if you can see on the inside of the covers, where you have attached the brad and ribbon for the closure, a little strategically placed die cut/sticker will hide this!!
Assemble your book with the rings, stamp sheets and then here comes the fun bit. You can decorate away on the covers to your heart's content.
Have fun.
I am going to decorate mine during the week, and will show you what I have done next weekend.
Please leave me a comment with a link to your blog so that I can see what you have all done when you have completed your book, and I hope you have enjoyed making this stamp book with me.
May you have lots of fun using this stamp book over the next few years.
Don't forget to leave me a comment so that I know you have been.
Happy Crafting
Hugs
Hettie
1 comment:
Thank you so much for taking the time to do this tutorial and post it! I still haven't managed to get the chipboard to do this but I am definitely going to bookmark this project to do eventually!
xoxo Karen
Post a Comment