Showing posts with label altered item. Show all posts

Tuesday, 9 December 2014

On the Ninth day of December....an Alteration for Bran Tub pressie!

Hello there

Is it me or is December just chomping along at a fast rate of knots?

On a previous post I mentioned that I was at our quilting Hope Lunch and that we traditionally have a Bran Tub.  Well, it has got around that I usually make something and so couldn't let them down this time.  I had bought some ribbon and some needle threader/cutters and now I just needed to "present" them some way...

 Take one tin that has been hanging around in your craft room for several years waiting for a project.

 Take some chipboard that has previously been on the back of a notepad in work.

 Take some VOS K&Company paper and cover said tin, find some Snippets and TH and Paperartsy stamps, half of a dummy torso that you had left over from a previous project, some buttons and flowers... jumble it up a bit and you get this...

 Do you like it?  I know Elaine did.  So glad she got it as she does love owls.

And the side didn't get ignored...

 Nor the base.  I was sent these stamps from a very kind blogging pal and this was their first time out.  Do you like my Handmade stamp too?  Only just received it from Etsy.  Love it!

 And here is inside the lid...

 Inside the box...
 Oh yes...I added some more ribbons.  The cards were also cut from the TH die and inked up with DI ink.  Some bells, buttons and pretty pins too.

Thanks for calling by and please let me know what you think.  Off to share this with the Pirate Cap'n Miss Di and her parrot called Parsnip as there are oodles of Snippets used in this project. ....last seen looking for another tin to make one for Mum for Christmas....

Hettie


Saturday, 15 June 2013

Honey for the Honeymoon....

Hello There Friends

And a special Helloooo to Debra and welcome to my little blog.  Thank you for following me.

Sorry I have been absent, but things have been a little hectic in the Hettie household of late.  Mum is still in hospital.  Unfortunately during her stay some nasty kind so and so sat between Mum and the next patient, whilst visiting the next patient with a bad case of Flu and has passed it on to Mum, who like me is susceptible to these kinda things and now has a chest infection on top of the kidney infection she went in with.  As you may imagine, this has upset her just a tiny bit!  NOT!  This also means that I am not able to go visit now in case I pick anything up.  Honestly some people ey!!

On top of that I have been visiting our local hospital too, but I shall maybe tell you about that another time!

Right then.  On to today's post.

As you will know from previous posts recently, we have had a family Wedding recently whereby my Nephew got married.  Well, as Bee Keeper of the family we had to give some Honey to the Honeymooners.  However, I could not find a honey jar locally that I liked so I got to do my own jar instead.

I took a standard Kilner jar and decorated it.  Why not?  The papers used are the MME The Sweetest Thing range in 6x6".  Dies used are Memory Box which I bought at Ally Pally.  Let me just tell you, those Bees are little buggers blighters to make!!!

Any excuse to get the alcohol inks out to make a tag for the jar using memory glass and the stamps that came with the papers.  Well, it would have been rude not to buy them too (and the 12x12" papers of course!)

Here is the top of the jar, which I used some Spellbinders dies.

Don't you just love this ribbon?  My Buddy brought that back from USA for me, though I have since found a source fairly locally.

I raided the Snippets Box for some white pieces of cardstock for the Bee wings and also raided my ribbon and fibre basket so I shall take this to the Playground to share around.  Knowing my Nephew the honey is all gone by now.  I know Miss is a little partial to our Honey too so I may be forgiven for missing class this week!!

Can you just say a prayer for our bees right now?  They are not having a good time of late and what with the recent weather  they are really struggling.  

I hope you are having a good weekend so far.  I understand the weather in the UK is great for scrapbooking/quilting/sewing/card making so off you go!  

Hugs

Hettie

Tuesday, 28 May 2013

Scrapbooking Tuesday - Tutorial - Storing Thin Dies - 500th Post!

Hello Friends

Blinkin' 'eck Peeps!  When I went to write yesterday's post up I realised that my next post (i.e. today's) was going to be my 500th post on this here Blog!  Wow!  I cannot believe that so many of you have tuned in to my Blog (that is an old saying isn't it!) and read my waffles.  So Thank You to everyone who visits me.  Also, a huge Thank You to my Followers, including my very newest one, Karen.  If you didn't follow me, then I would not post here!  Hmmn!  Not sure that quite sounds right!

Well, it is Tuesday today and as most of you know, I usually do a scrapbooking post today.  However, I thought I would kinda twist this slightly and show you how I am have now turned an old safety deposit box into a storage box for my thin dies.


I don't know how you store all your thin dies, but mine were growing quite rapidly and because of the different boxes they all come in, I had them dotted around my room in various boxes, drawers and baskets, which was not good.  If I wanted to take them anywhere I had to remember where they all were and then try and pack them carefully.  I needed a good solution.  


So I emptied this tin of the lace it was holding, bought some magnetic sheets (A4) and cut them in half and popped them into the said tin.  Eureka I thought!!  However, when trying to lift the sheets they would bend and then some dies would come loose.  I needed them to be stiffened! (Don't be rude now! No viagra involved here!)


So then my album making skills came into use.  I cut some chipboard to the required size (taking into account the lock at the front of the tin!!  


Covered them with scrapbooking papers that have lain in drawers for a loooooong time and/or were in my Snippets box.  Then rounded the corners off with my corner rounderer.

I made some tags with my Memory Keepers tag punch, scoring and folding the card and cutting them out with the punch just below the top blade so they would be folded.


This way they would fold over the top of the "page" instead of having to adhere two separate tags together.  Then using the clear stickers that came with the punch I adhered the tags to the top of the "pages".  Red is Sizzix, Black if Paperartsy, Purple is Spellbinders, Turquoise is Memory Box and Blue is Quickutz.  Other dies also available!

I rounded off the magnetic sheets, again using the corner rounderer.

Then using hi tac redline adhesive I adhered the magnetic sheet to the "page.SHINY SIDE UP!

Tee Hee.  This sheet is so shiny I can see my reflection!


Then the task of placing my dies to the pages.  


And here are the pages in the box.  The tape you can see in the top is also magnetic and came out of the DVD type boxes I bought as a potential solution.  By adhering these to the top of the tin, I can just place the dies on there as I am using them ready to be put back once I have finished which means I don't play that "where did that die go" game in amongst the papers as you are using them!

You will notice that I have placed tags on the top left with the die numbers on for easy reference (and avoiding duplicate buying).  Next time I get my dies out and use them, I will cut extras and place on the pages for easy reference too.

All I need to do now is to decorate the box.  That is another project for the future!

I do hope this has given you an idea for your die storage.  I will share with you the fact that before I went to the trouble of covering the pages, I did cut the chipboard and place between the sheets a few weeks ago to check I was going to be happy with this idea first!  Having bought DVD cases and magnetic tape which did not work for me (they kept coming unstuck and flipping to the opposite page) I wanted to make sure I was happy with my idea first!

Thank you for calling by.  I shall pop this over to the Playground as there are lots of Snippets used here (and I am desperate for the SD stamps on offer this week in the draw), as well as recycling the tin which was destined for the bin in work, so is a kinda Snippet!  I keep hoping I can find more of these tins, but a load were binned not long before I started!  Typical!

Hugs

Hettie


Tuesday, 5 March 2013

Scrapbook Tuesday - Guernsey Album

Hello Friends

I hope you are all lucky enough to be enjoying this dry weather that we have been having lately.  Just a shame the weekends aren't very long to enjoy it.

REgulars will know that on a Tuesday I tend to share a recent layout here, however, I haven't done one this week.  However, I have been working on my album that I started last year and have not shared with you, so I will now.  It has been inspired by the albums that Laura Dennison creates but to my own specifications and design. Front cover.....

Inside front cover.... The covers were actually made from some law books which were about to be disposed of!!  Criminal!!  The slight bobbling on the front cover is where the text is embossed into the cover, but this will be covered with embellishments when I add them on.  I don't tend to put the embellishments on the cover until I have finished the book.


Some pics of a wonderful small Shell Church and Simon at the wall of Castle Cornet.  Yes that is me peaking out of the Church on the far right.....a larger version of me!!
                      

Photos of the bay.  You can tell I have had this on the go for a while as I had just received my Sailing set of SU stamps!!  
This was my first ever flight!!  1993!!  
Some of you may recognise the papers as Laura Ashley which were out some years ago!!  I have also used elements from Cosmo Cricket set and bucket loads of Snippets.
And another silly one of yours truly, along with some butterflies which someone kindly sent to me!  As you may notice, I have used a mixture of photos and postcards bought from the trip.
Quite a bit more work to do but it is coming along slowly.  I have not told you but the pages are made from brown paper bags which used to hold the Partners' lunches when they were being delivered here!!  More recycling or upcycling!!

Right, I think the Playground Chicken Coop needs cleaning out and as it is such a lovely sunny afternoon, I shall volunteer to do the job.  Anyone care to join me?

Hugs

Hettie


Wednesday, 31 October 2012

It's Spooky Night....Beware!

Hello Ghosts, Ghouls, Witches and Goblins everywhere and Welcome!!

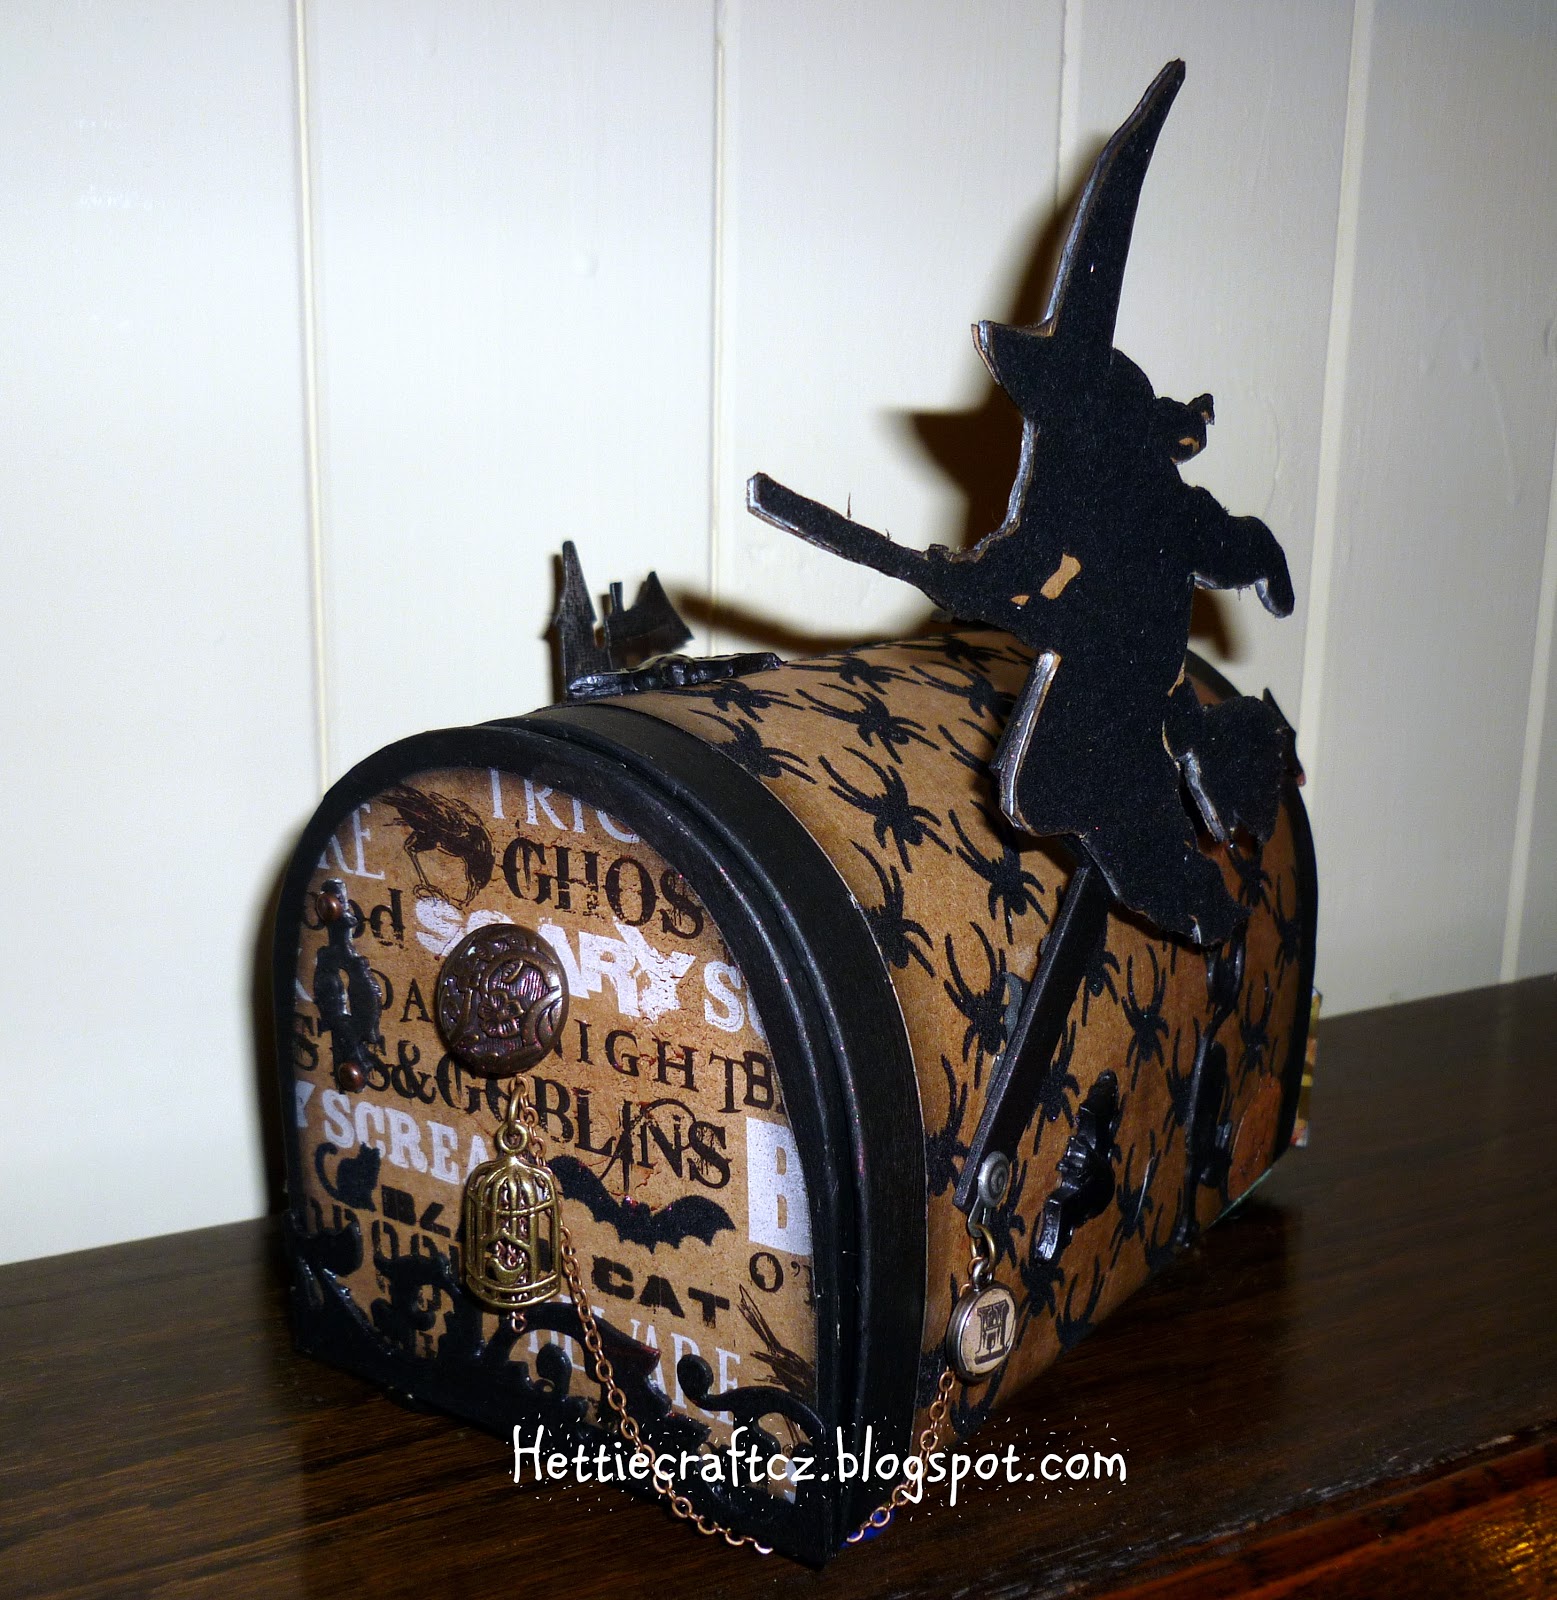
As it is Hallowe'en today I thought I would share with you my latest creation!  It is a long picture heavy post so the cauldron is on, get yourself a cup of Poison, maybe grab a few Dragon's Breath cookies or some Frog Spawn pudding and take a peek. It is not like we are going to see too many Witches out and about tonight!  It is pouring down here so there will be many a fire damped down.  Hope you like....

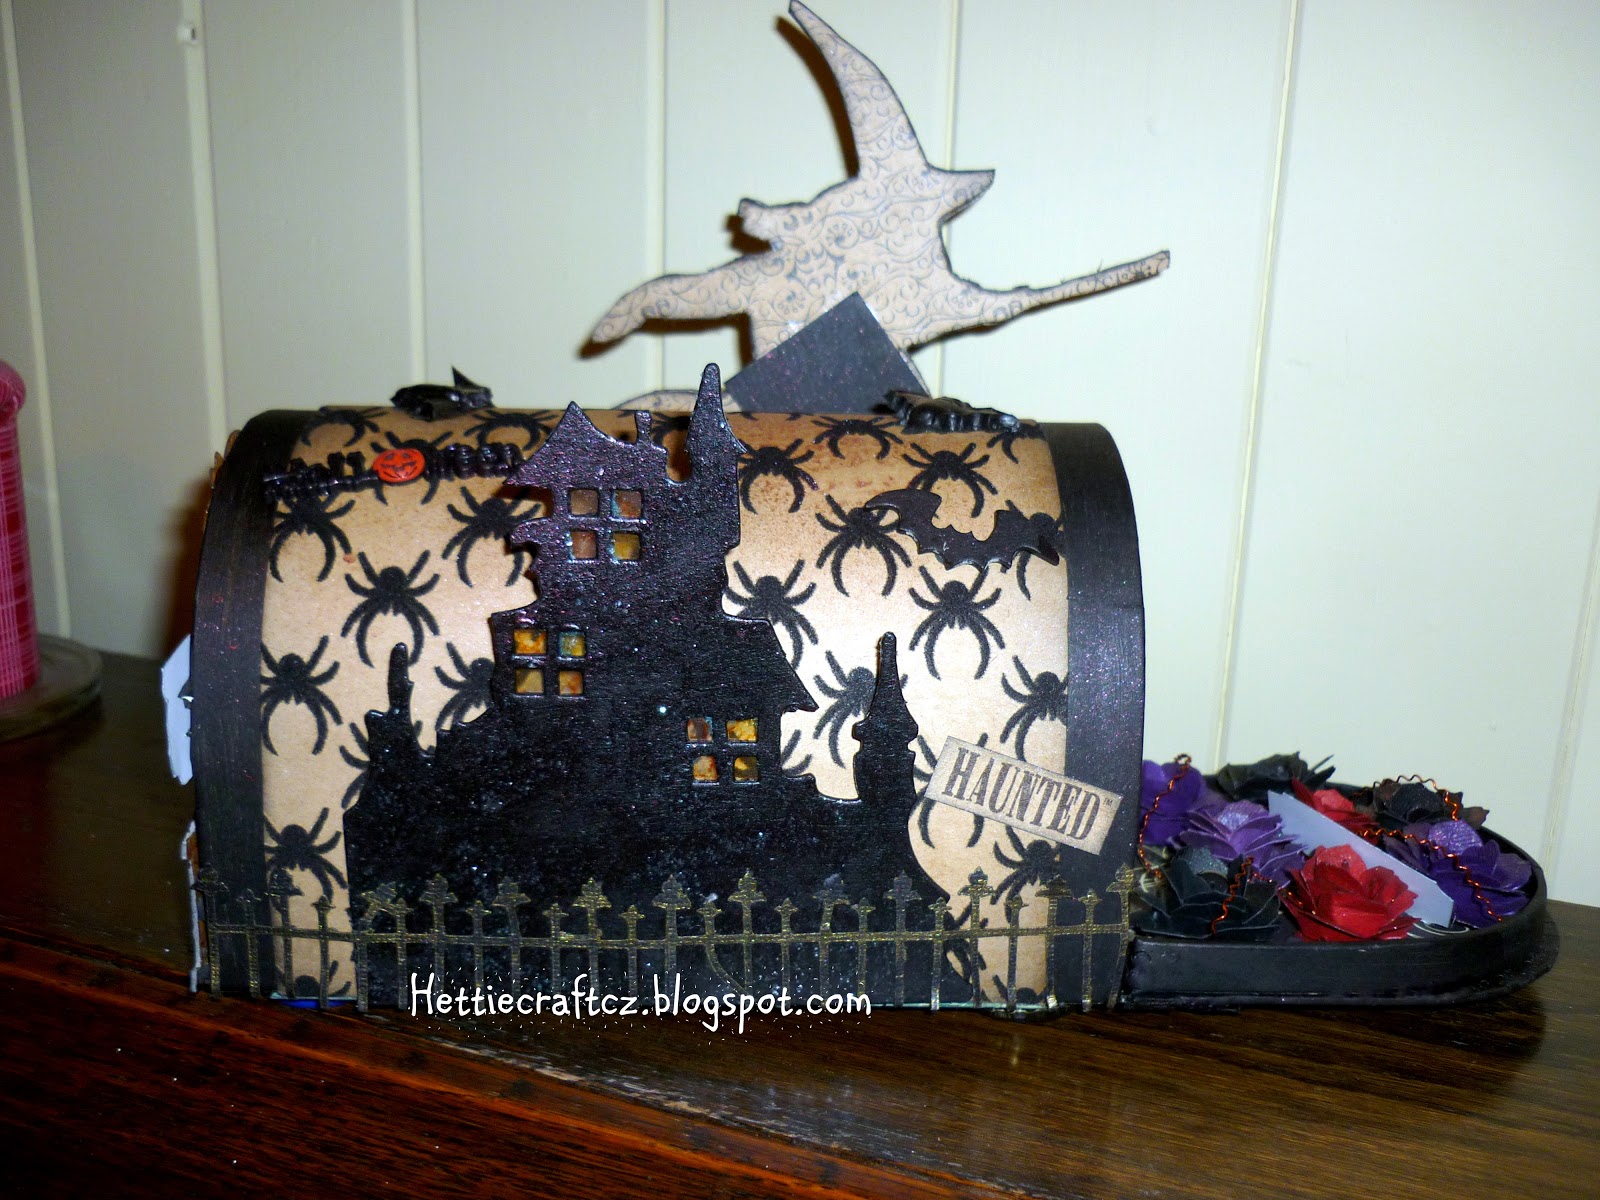
A Maya Road Post Box which I ordered from USA about 4 years ago "just because" and have been gathering little bits and pieces and ideas waiting for the right time to make this box into something magical.  

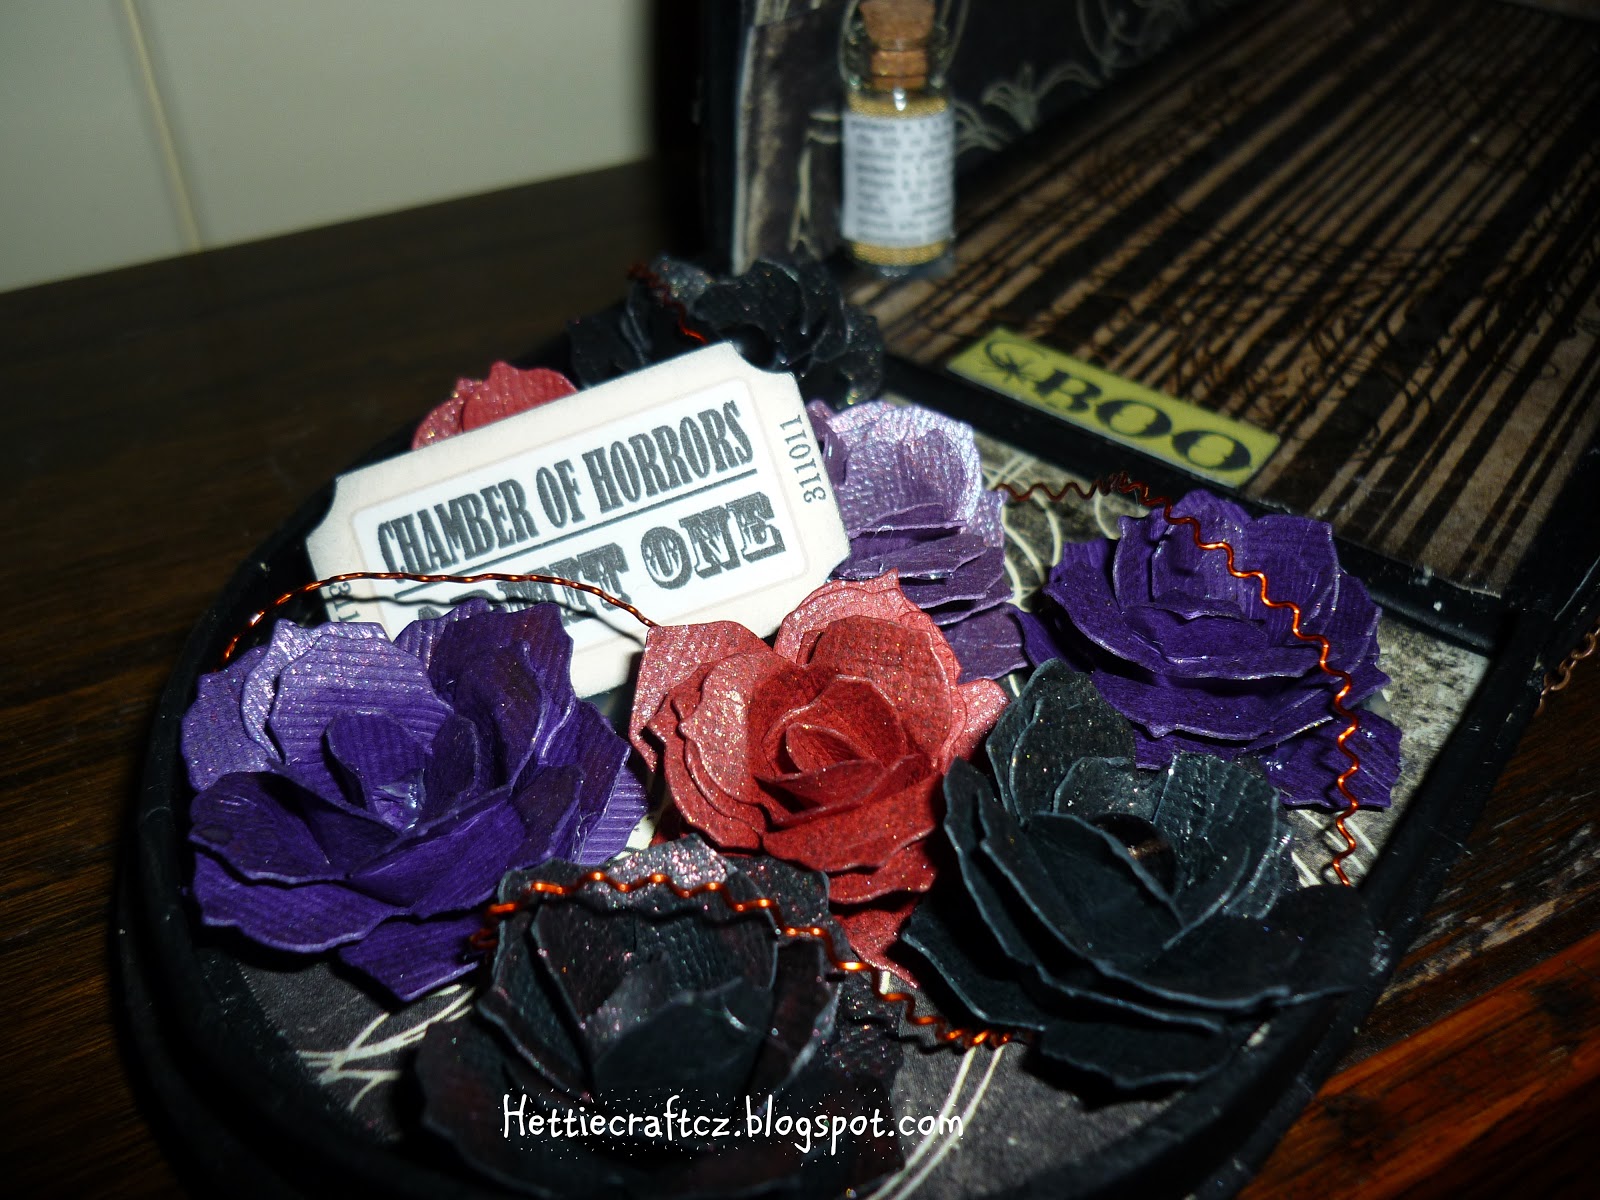
Be careful of the bottle of poison on the left.  The Owl at the back is keeping his beady eye on you too!
Some Roses made from the Tattered Pinecone die by Tim Holtz.


And no Hallowe'en project would be complete without a Haunted House complete with rusty railings. 
And inside a little book of Potions ....
Notice the glow in the dark skeleton hiding on the ring?


The box was first painted black with acrylic paint dabber and then papered with flock papers from MME. 

Home made Fimo Bats! 

Here are the feet....two bottles of Witches Brew and two bottles of Hobgoblin Brew were drunk to create this project!  All in the name of Art don't you know?
I am going to enter this project into the following Challenges:-

CC101 - Holiday anything goes!
Snippets with Pixie- anything using snippets
Inspiration Emporium - Spooktacular Decorations

In my haste to post this project last night (technical issues - grrr) I forgot to post it into the Challenge over at Simon Says Stamp. whose challenge is Pearls.  Although the photos don't show them up very well, there are Perfect pearls on the book as well as all being sprayed with both Heirloom Gold and Forever Red liberally.  In fact my Craft room floor is glimmering right now!

Terry has very kindly let me know of another Challenge blog which I have not come across before, and I can pop this piece on there.  Please go and see them there is some fabulous Spooky work over there.  Link is HERE and it is Fashionable Stamping Challenges!

Off you go Trick or Treating and I hope you get lots of healthy treats!!  Honest!

Wahahahahahahaha!

Hettie


Ingredients:-  Distress Inks, Grungeboard, Grungepaper, Tattered Pinecone die, On the edge dies, memo pins, Archival inks, Perfect pearls sprays, acrylic paint dabber, Rock candy Distress stickles, Alcohol inks, Button, Perfect pearls, Perfect pearls mist, tassel - All Ranger, My Mind's Eye papers, Pink Paisley papers, Bazzill cardstock, brads, chain, fimo, silicone mould, Silhouette images, Stamps MME, DoCrafts, Tim Holtz, Craft Stamper, Rusty embellishments, ribbons, Hampton Art glitter, Glossy accents, Claudine Hellmuth medium.